Overview
A CDN installation is usually the fastest way to load Open Accessible while keeping the widget files centrally updated.
This article is written as a practical reference for installation with a cdn. Follow the steps in order the first time, then use the headings and screenshots as landmarks when you return later. The screenshots reflect the current Open Accessible Cloud layout shown in September 2026, so labels may move slightly as the dashboard evolves.
Where to look in the dashboard
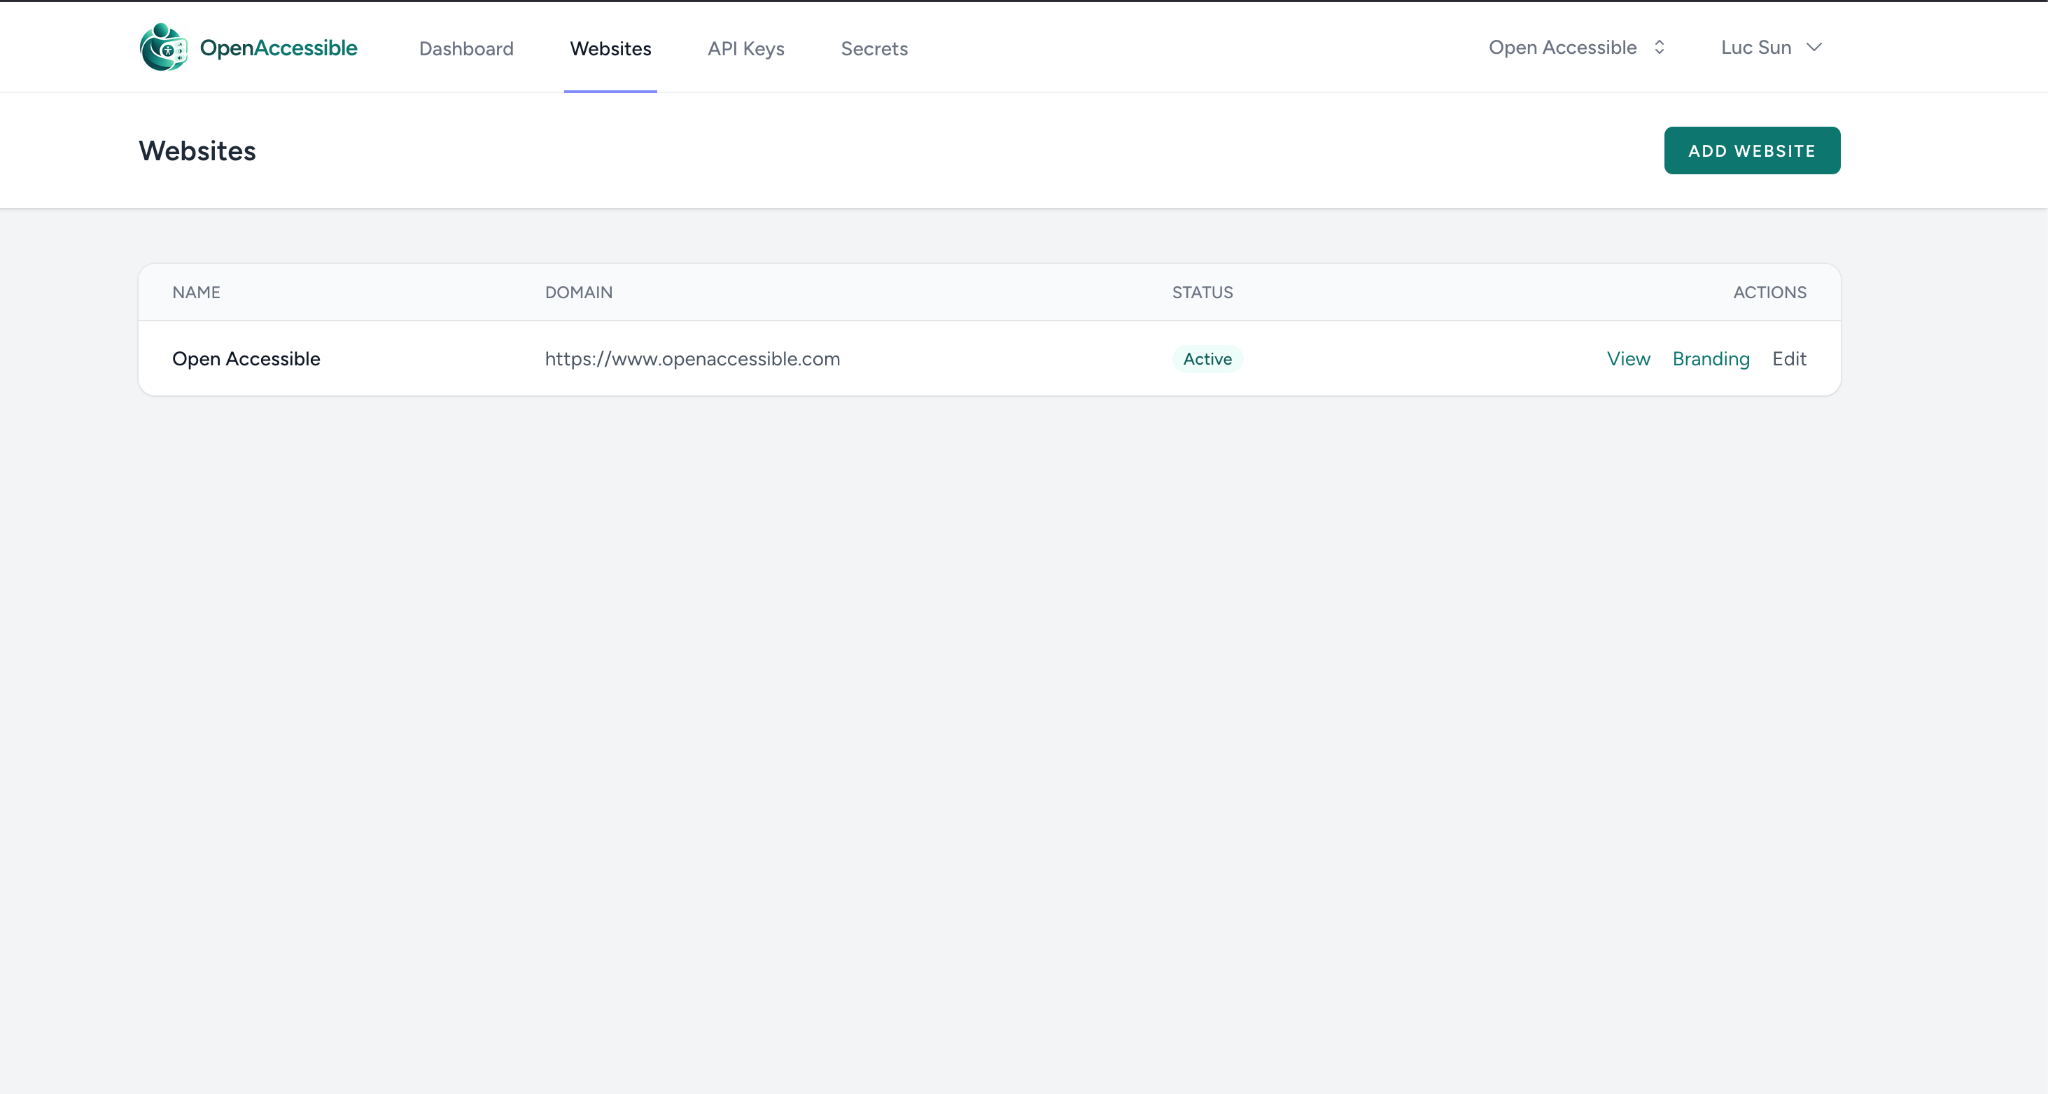
Use the interface landmarks below to get to the right place before making changes. The screenshots are included as guidance so you can match the documentation to what you see in the dashboard.
Before you begin
Confirm that you are signed in to the correct account and, when applicable, that the organization selector in the upper-right corner shows the organization you intend to manage. If you work with multiple websites, verify the domain before changing settings.
For changes that can affect a live site, take note of the current configuration first. A screenshot, copied setting value, or short change note makes rollback much easier. Avoid changing unrelated options at the same time; smaller changes are easier to verify and troubleshoot.
How the installation fits together
Open Accessible has two parts to think about: the files that load on the website and the site-specific configuration that tells the widget how to behave. Treat those as separate layers. First make sure the correct files are loading, then confirm the configuration is attached to the correct website.
When testing, use one known page as your reference page. Verify the launcher appears, can be opened with a keyboard, and continues to work after navigation or refresh. Once that page is reliable, test a broader sample of templates such as the home page, product or content pages, forms, and pages that load content dynamically.
Step-by-step workflow
- Select the correct website. Open the Websites area and confirm the domain and Active status.
- Apply the installation or configuration change. Use the method described in this guide and keep credentials or secrets server-side when required.
- Reload without relying on cache. Use a private window or hard refresh when you need to make sure a newly deployed file is actually loading.
- Test the launcher. Open it with pointer and keyboard input, move through several controls, close it, and confirm focus returns somewhere sensible.
- Test representative pages. Check at least one simple page, one content-heavy page, and one page with forms or dynamic content.
How to verify the result
Do not stop at the saved confirmation. Reload the relevant page and confirm the visible state matches what you intended. If the change affects authentication, open a fresh browser session. If it affects a website, test the public page as a visitor rather than only the dashboard.
For user-facing changes, check with keyboard input, browser zoom, and a narrow mobile viewport. Watch for overlapping fixed controls, clipped dialogs, focus that disappears off-screen, or settings that reset unexpectedly after navigation.
Troubleshooting
If the dashboard does not match these screenshots, first confirm you are in the correct organization and account. UI labels can also change over time, so look for the same concepts—Websites, API Keys, Secrets, organization settings, or Profile & 2FA—even if the exact placement has moved.
For website problems, check the browser developer console and network panel. Look for blocked scripts, 404 responses, Content Security Policy errors, or requests being stopped by a consent manager or extension. For account problems, try a private window and verify that the email address and organization membership are correct before resetting credentials.
Recommended practices
Use descriptive names for websites, keys, tokens, secrets, and team roles. Clear names reduce the chance of editing the wrong resource and make audits easier months later. Avoid putting sensitive values into screenshots, tickets, documentation, or public source repositories.
Review access periodically. Remove old sessions, unused credentials, and team members who no longer need access. For production integrations, document where each credential is used and who is responsible for rotating it.
Next steps
After completing installation with a cdn, return to the documentation home page and use search to find the next related workflow. Search accepts normal phrases, so queries such as “website branding,” “2FA,” “API token,” or “installation” will surface related guides.
If you are troubleshooting, keep the page URL, browser name, approximate time, and a concise set of reproduction steps. Those details make it much easier to distinguish an account configuration issue from a website integration issue.